
Labelling and Ordering Your Fields and Inputs
Fields and inputs are added automatically into your Zuko account as visitors to your site interact with them. After we have received data for them for the first time, you can add more readable labels to them and also set a custom order for them. This guide takes you through the manual way to configure and label your fields. Zuko also has a field labelling wizard which allows you to do this through an interactive visual labeller.
If you have not labelled any fields, you will be prompted to add labels from within Zuko:

You can relabel and reorder your fields at any point by clicking on the Cog Symbol on the right hand side, next to the URL of your form.
Once in the Field Labelling View, you will see a list of unconfigured fields at the top, waiting to be labelled and ordered:

To configure a field, click the ‘+’ symbol on the right hand side, the field will then drop down to the bottom of the screen, with an input box where you can enter your field label:

Repeat the process for all of your unconfigured fields, dragging and dropping them into your desired order:

Important - remember to click save after you have configured all of your fields. You can come back and change labels and orders at any point.
Merging Rules
You may want to merge data from different fields together in your reporting. This is useful if any of your fields have IDs or Names that change for every visitor.
For example, you may have a field where the Name stays the same but the ID is a unique string for each customer. In that case I could create a Merging Rule like this:

After I clicked ‘+’ a rule would be created merging all fields which have a Name of ‘email’, ignoring the variable IDs.
Important - merging rules are irreversible, so if you have any doubts or need assistance, get in touch with the Formisimo team.
Labelling Fields that have no Name or ID attributes
You may find in Zuko that some of your fields do not have any information pulled through to tell you what exactly they are.
If fields do not have a name or ID attribute that is simple to interpret, it can be difficult to work out what they are and you may have to get the form open and start interacting with each field to see what it is via the Inspect Element feature. In the HTML of the page you should be able to find out more information about each field, then head into Zuko to see the corresponding field.
You may also be able to guess what fields are by process of elimination. Once you've labelled all of your fields that do have Name and ID attributes, you may then be able to tell what is left by the fields you seem to be missing.
Our advice would always be to make sure that a field has either a Name or ID in your code, since this is best practice and will help you tracking this elements in other tools you may be using!
Hiding Fields
Sometimes you might want to hide certain fields in Zuko. Perhaps you have removed the field from the form so it isn't relevant any more. Or maybe it get's so little interaction that you want to remove it to make your reports tidier. You can hide any field that has already been configured through clicking the toggle on the right hand side of the Configured Fields section and then saving the change.
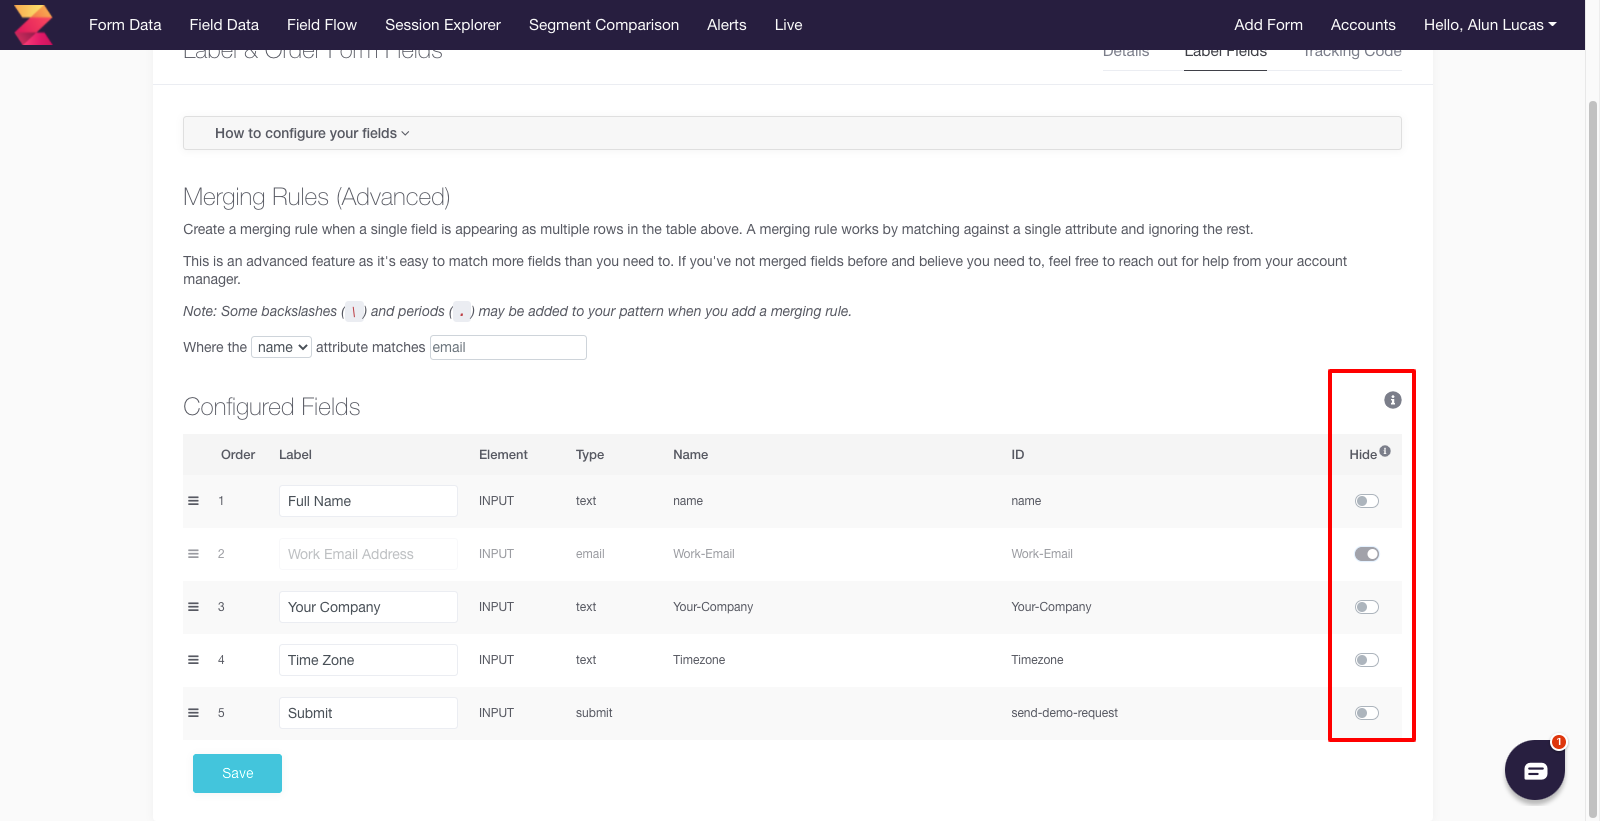
Don't worry if you accidentally hide a field. You can quickly toggle back if necessary. Note that hiding the field does not remove any data nor does it affect the metrics shown for other fields. For example, the % of abandonments for all fields will stay the same even if you hide some of them.
Want to get started with Zuko?
Start a free trial that includes all features, or request a demo